
Measurements:
|
Product |
Size |
Quantity |
Details |
|
166637 |
12” x 12” |
2 |
Storybook Life, Boho Blue: Both pages |
|
161715 |
2” x 12” |
2 |
Neutrals, Light Gray: Both pages |
|
161715 |
3” x 3” |
1 |
Neutrals, Light Gray: Left side |
|
161715 |
½” x 4” |
2 |
Neutrals, Light Gray: Left side |
|
161715 |
½” x 2 |
2 |
Neutrals, Light Gray: Left side |
|
161715 |
½” x 5” |
1 |
Neutrals, Light Gray: Left side |
|
161715 |
9 ¾” x 5” |
1 |
Neutrals, Light Gray: Right side |
|
161715 |
½” x 5 ¾” |
1 |
Neutrals, Light Gray: Right side |
|
164944 |
1 ½” x 12” |
2 |
Bloom Impressions, Blue Skies: Both pages |
|
164944 |
9 ¾” x 4 ¾” |
1 |
Bloom Impressions, Blue Skies: Right side |
|
146968 |
4” x 3” |
1 |
Blueberry Bushel: Left side |
|
146968 |
4” x 5” |
1 |
Blueberry Bushel: Left side |
|
146968 |
3” x 3” |
2 |
Blueberry Bushel: Left side |
|
146968 |
6” x 2” |
1 |
Blueberry Bushel: Left side |
|
146968 |
2” x 2” |
2 |
Blueberry Bushel: Right side |
|
146968 |
2 ¾” x 2 ¾” |
6 |
Blueberry Bushel: Right side |
|
146968 |
5 ¾” x 4” |
1 |
Blueberry Bushel: Right side |
Instructions:
1. Follow the measurements guide and cut all cardstock and DSP as noted.

Left Side:
1. Take one (1) 12” x 12” Storybook Life, Boho Blue. This will be your base.
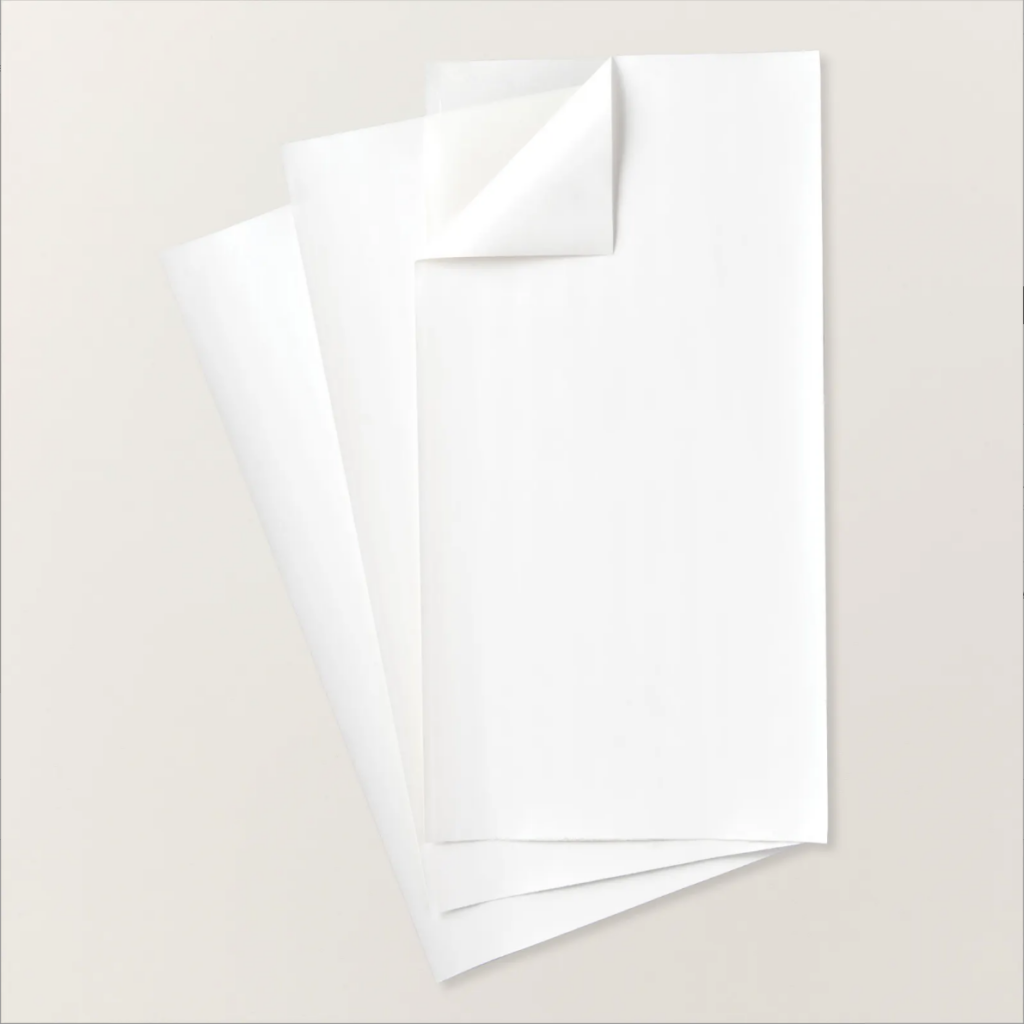
2. Take one (1) 3” x 3” Blueberry Bushel and, using the snowflake die cut from the Twinkling Lights Dies, cut out the snowflake. For ease of use, add an Adhesive Sheet to the back of the paper before cutting. NOTE: If you DON’T have this retired set, no worries! Cut a snowflake or any other shape you associate with January. Adhere to the center of one (1) 3” x 3” Neutrals, Light Gray.
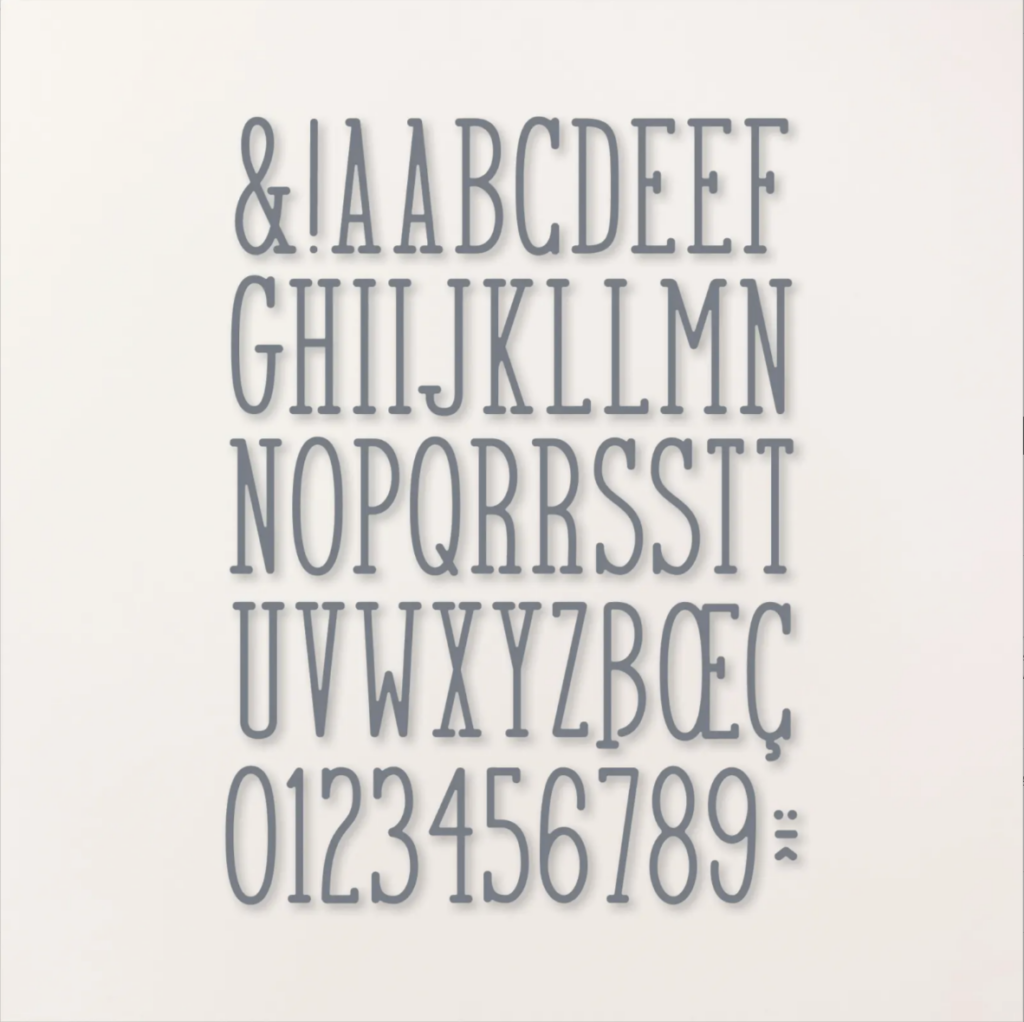
3. Take one (1) 6” x 2” Blueberry Bushel and, using the letters JANUARY from the Alphabet A La Mode Dies, cut out the letters. For ease of use, add an Adhesive Sheet to the back of the paper before cutting.
4. Take one (1) ½” x 4” Neutrals, Light Gray and adhere to the top of one (1) 4” x 3” Blueberry Bushel using your Stampin’ Seal.
5. Take one (1) ½” x 4” Neutrals, Light Gray and adhere to the top of one (1) 4” x 5” Blueberry Bushel using your Stampin’ Seal.
6. Take two (2) ½” x 2” Neutrals, Light Gray and adhere to the top and bottom of one (1) 3” x 3” Blueberry Bushel on the sides as shown using your Stampin’ Seal. Trim the excess.
7. Take one (1) 2” x 12” of Neutrals, Light Gray and one (1) 1 ½” x 12” of Bloom Impressions, Blue Skies. Adhere the Blue Skies to the center of the Light Gray using your Stampin’ Seal. Adhere to the left side of the Boho Blue using your Stampin’ Seal, leaving a small gap along the left side of the page as shown in the image.
8. Take the stacked 4” x 5” Blueberry Bushel and adhere to the bottom right-hand side of the page as shown using your Stampin’ Seal.
9. Take the snowflake on the 3” x 3” Neutrals, Light Gray and adhere between the left hand 2” x 12” stacked Blue Skies and Light Gray and the 4” x 5” Blueberry Bushel using your Stampin’ Seal.
10. Take the 3” x 3” Blueberry Bushel with stripes of Light Gray and adhere above the 4” x 5” Blueberry Bushel using your Stampin’ Seal.
11. Take the stacked 4” x 3” Blueberry Bushel and adhere above the snowflake and next to the 3” x 3” Blueberry Bushel using your Stampin’ Seal.
12. Take the ½” x 5 ¾” Neutrals, Light Gray strip and place on the page towards the center. Adhere the letters for JANUARY above the line, using it as a guide, by removing the adhesive backing. After the letters are all in place, adhere the ½” x 5 ¾” strip below the letters with your Stampin’ Seal.

Right Side:
1. Take one (1) 12” x 12” Storybook Life, Boho Blue. This will be your base.
2. Take one (1) ½” x 5 ¾” Neutrals, Light Gray and adhere to the top of one (1) 4” x 5 ¾” Blueberry Bushel using your Stampin’ Seal.
3. Take one (1) 2” x 12” of Neutrals, Light Gray and one (1) 1 ½” x 12” of Bloom Impressions, Blue Skies. Adhere the Blue Skies to the center of the Light Gray using your Stampin’ Seal.
4. Take one (1) 9 ¾” x 5” of Neutrals, Light Gray and one (1) 9 ¾” x 4 ¾” of Bloom Impressions, Blue Skies. Adhere the Blue Skies to the center of the Light Gray using your Stampin’ Seal.
5. Align the 2” x 12” stack along the right-hand side of the page and the 9 ¾” x 5” stack in the center of the page. Adhere both using your Stampin’ Seal, ensuring the two align as shown in the picture.
6. Take three (3) 2 ¾” x 2 ¾” Blueberry Bushel squares and adhere with your Stampin’ Seal at the top of the page, above the center stack.
7. Take three (3) 2 ¾” x 2 ¾” Blueberry Bushel squares and adhere with your Stampin’ Seal at the bottom of the page, below the center stack.
8. Take one (1) 4” x 5 ¾” Blueberry Bushel with added Light Gray and adhere in the center stack towards the right-hand side of the page with your Stampin’ Seal.
9. Take two (2) 2” x 2” Blueberry Bushel squares and adhere with your Stampin’ Seal to the right of the 4” x 5 ¾” Blueberry Bushel stack, one on top of the other as shown in the picture.
Tip: This page set can be used for multiple occasions; just select the word you wish [or use a sentiment!]
NOTES:
1. At the time of creation of this page set, all supplies were available on the Stampin’ Up website. However, items can be sold out or discontinued at any time. Feel free to use other supplies to make similar pages based on what you have available.
2. If you would like to order any of the supplies, you will need to create an account online with your personal information – Demonstrators cannot keep personal information on customers. We have provided links to the supplies for ease of use [linked by item number] and can provide hard copy catalogs if desired as well. If you need additional assistance, please reach out to info@mycraftingworkshop.com – we are more than happy to assist!
Supplies:

Select to Add to Stampin' Up Cart
Meet Paper Pumpkin, a monthly crafting subscription kit
Subscribe to Paper Pumpkin and get everything you need to create handmade cards, tags, and more delivered to you each month. Plus, you’ll also get access to exclusive products and a supportive crafting community. A Paper Pumpkin subscription makes a great gift, too! Treat your favorite people to a creative outlet in a box.
Choose a pay-as-you-go plan with auto shipping so you never miss a month. Or choose a prepay plan for 3 months, 6 months, or 12 months of Paper Pumpkin kits. Shipping Included.