Measurements:
|
Product |
Size |
Quantity |
Details |
|
144239 |
12” x 12” |
2 |
Very Vanilla: Both
pages |
|
166620 |
½” x 12” |
2 |
Wildflower Birthday
DSP, Banner: Right page |
|
166620 |
½” x 10” |
2 |
Wildflower Birthday
DSP, Banner: Right page |
|
166620 |
10 ½” x 10 ½” |
2 |
Wildflower Birthday
DSP, Banner: Both pages |
|
166620 |
7” x 7” |
1 |
Wildflower Birthday
DSP, Banner: Right page |
|
166620 |
3” x 3” |
3 |
Wildflower Birthday
DSP, Cake: Left page |
|
166620 |
3” x 3” |
2 |
Wildflower Birthday
DSP, Blue with Flowers: Left page |
|
166620 |
3” x 3” |
2 |
Wildflower Birthday
DSP, Gold with Flowers: Left page |
|
166627 |
4” x 6” |
1 |
Wildflower Celebrations
Two-Tone Cardstock, Blueberry Bushel: Right page |
|
166627 |
4” x 4” |
1 |
Wildflower Celebrations
Two-Tone Cardstock, Blueberry Bushel: Left page |
|
166627 |
1 ½” x 1” |
1 |
Wildflower Celebrations
Two-Tone Cardstock, Blueberry Bushel: Right page [die cut] |
|
163793 |
3 ¼” x 3 ¼” |
13 |
Pretty in Pink: Both
pages |
|
163793 |
2” x 1 ¼” |
1 |
Pretty in Pink: Right
page |
|
163793 |
2” x 15/16” |
1 |
Pretty in Pink: Right
page |
|
163793 |
1 ¼” x 1 ¼” |
1 |
Pretty in Pink: Right
page |
|
122924 |
3” x 3” |
6 |
Pool Party: Both pages |
|
166780 |
2” x 2 ½” |
2 |
Basic White: Right page
[die cuts] |
|
166780 |
3 ¾” x 3 ¾” |
1 |
Basic White: Left page |
|
166780 |
3 ¾” x 5 ¾” |
1 |
Basic White: Right page |
|
166780 |
1 ¾” x 14/16” |
1 |
Basic White: Right page |
|
166780 |
11/16” x 1 ¾” |
1 |
Basic White: Right page |
|
166780 |
2 ¾” x 2 ¾” |
6 |
Basic White: Both pages |
Instructions:
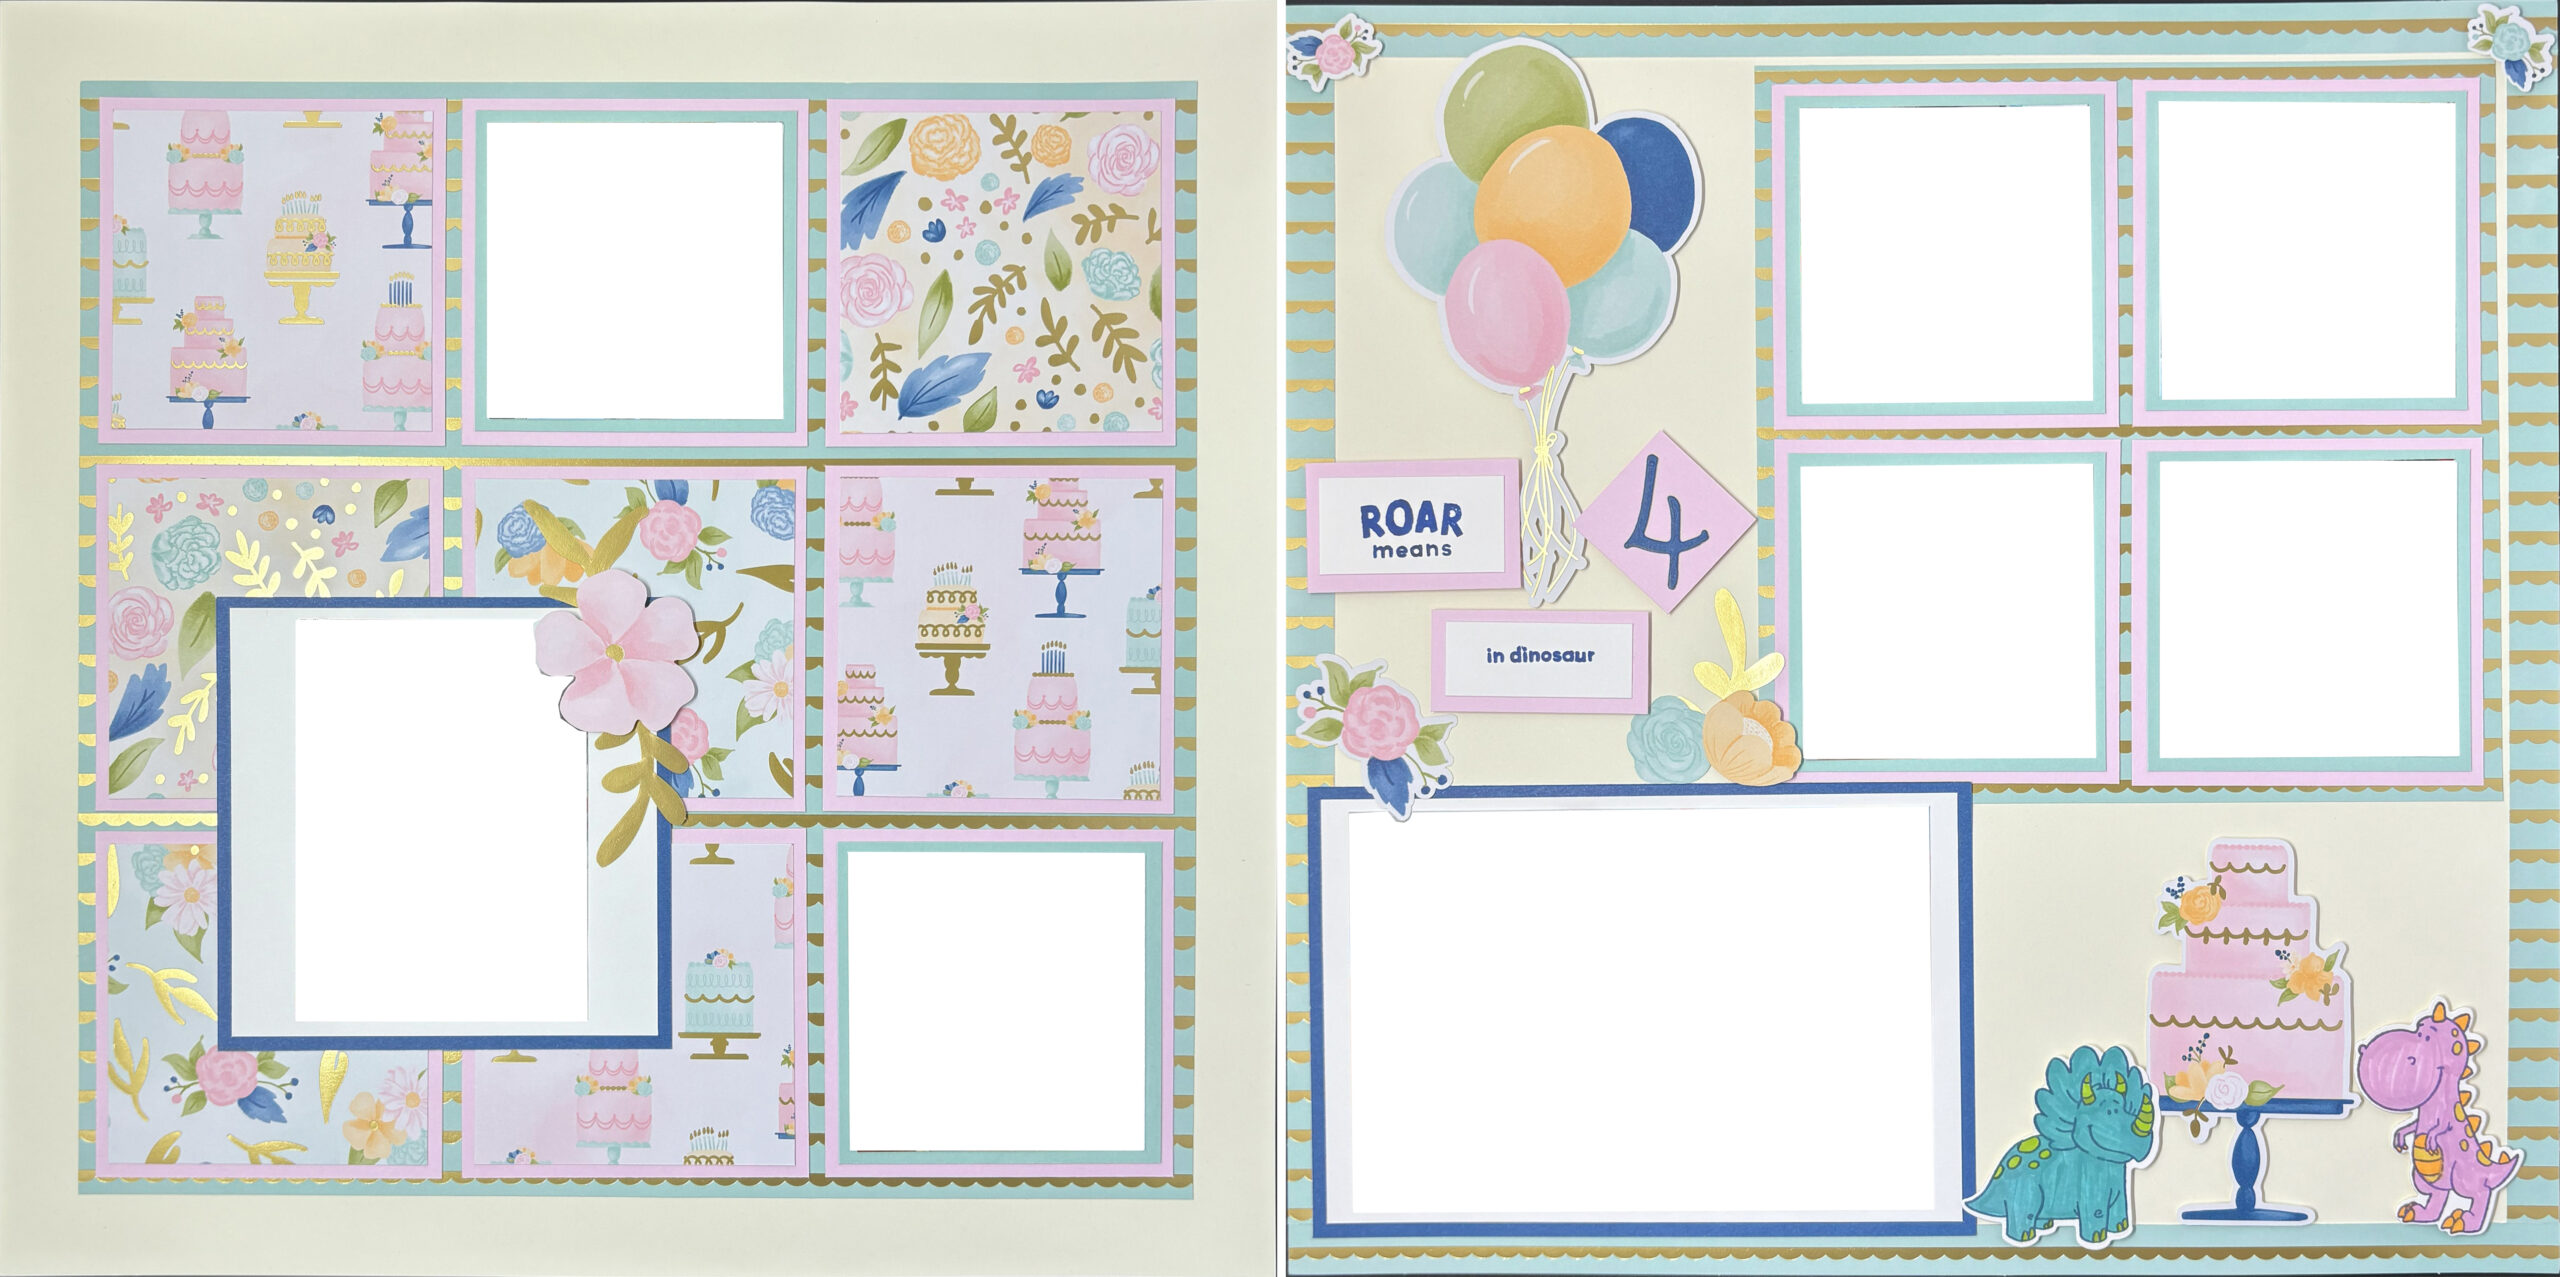
1. Follow the measurements guide and cut all cardstock and DSP as noted.

Left Side:
1. Take one (1) 12” x 12” Very Vanilla. This will be your base.
2. Take three (3) 3” x 3” Wildflower Birthday DSP, Cake, and three (3) 3 ¼” x 3 ¼” Pretty in Pink. Adhere the Cake to the center of the Pretty in Pink with your Stampin’ Seal. Set aside.
3. Take two (2) 3” x 3” Wildflower Birthday DSP, Blue with Flowers, two (2) 3 ¼” x 3 ¼” Pretty in Pink. Adhere the Blue with Flowers to the center of the Pretty in Pink with your Stampin’ Seal. Set aside.
4. Take two (2) 3” x 3” Wildflower Birthday DSP, Gold with Flowers, two (2) 3 ¼” x 3 ¼” Pretty in Pink. Adhere the Gold with Flowers to the center of the Pretty in Pink with your Stampin’ Seal. Set aside.
5. Take two (2) 3 ¼” x 3 ¼” Pretty in Pink, two (2) 3” x 3” Pool Party, and two (2) 2 ¾” x 2 ¾” Basic White. Adhere the Basic White to the center of the Pool Party and the stack to the center of the Pretty in Pink with your Stampin’ Seal. Set aside.
6. Take one (1) 4” x 4” Wildflower Celebrations Two-Tone Cardstock, Blueberry Bushel, and one (1) 3 ¾” x 3 ¾” Basic White. Adhere the Basic White to the center of the Blueberry Bushel with your Stampin’ Seal. Set aside.
7. Take your base and one (1) 10 ½” x 10 ½” Wildflower Birthday DSP, Banner. Adhere the Banner in the center of your base with your Stampin’ Seal.
8. Take three (3) 3” x 3” Wildflower Birthday DSP, Cake, and Pretty in Pink stacks. Adhere to the 10 ½” x 10 ½” Wildflower Birthday DSP, Banner, in the top right corner, bottom center and left center with your Stampin’ Seal.
9. Take two (2) 3” x 3” Wildflower Birthday DSP, Blue with Flowers, and Pretty in Pink stacks. Adhere to the 10 ½” x 10 ½” Wildflower Birthday DSP, Banner, in the center and bottom left corner with your Stampin’ Seal.
10. Take two (2) 3” x 3” Wildflower Birthday DSP, Gold with Flowers, and Pretty in Pink stacks. Adhere to the 10 ½” x 10 ½” Wildflower Birthday DSP, Banner, in the top right corner and left center with your Stampin’ Seal.
11. Take one (1) 4” x 4” Wildflower Celebrations Two-Tone Cardstock, Blueberry Bushel, and Basic White stack and adhere in the bottom right corner of the page as shown in the image with your Stampin’ Seal.
12. Take two (2) 3 ¼” x 3 ¼” Pretty in Pink, Pool Party, and Basic White stacks. Adhere in the lower right corner and the top center with your Stampin’ Seal.
13. Select die cuts from the Wildflower Birthday DSP to add to the page. For this layout, we added some gold leaves, adhered with the Multipurpose Liquid Glue, and a pink flower that we adhered with Mini Stampin’ Dimensionals.

Right Side:
1. Take one (1) 12” x 12” Very Vanilla. This will be your base.
2. Take four (4) 3 ¼” x 3 ¼” Pretty in Pink, four (4) 3” x 3” Pool Party, and four (4) 2 ¾” x 2 ¾” Basic White. Adhere the Basic White to the center of the Pool Party and the stack to the center of the Pretty in Pink with your Stampin’ Seal. Set aside.
3. Take one (1) 4” x 6” Wildflower Celebrations Two-Tone Cardstock, Blueberry Bushel, and one (1) 3 ¾” x 5 ¾” Basic White. Adhere the Basic White to the center of the Blueberry Bushel with your Stampin’ Seal. Set aside.
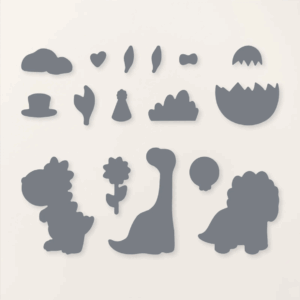
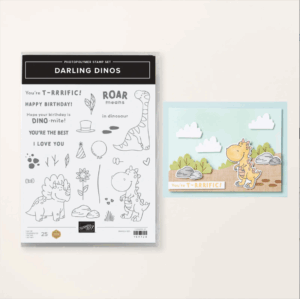
4. Take two (2) 2” x 2 ½” Basic White and your Darling Dino Stamps. Use the Blueberry Bushel Classic Stampin’ Pad and select two dinosaurs to stamp. For this layout, we used the tyrannosaurus rex and triceratops. Use your Brights and Subtles Stampin’ Write Markers to color them in. Take the corresponding die from the Darling Dinos Dies and, using your Stampin’ Cut and Emboss Machine, cut them out. Set them aside.
5. Take one (1) 1 ½” x 1” Wildflower Celebrations Two-Tone Cardstock, Blueberry Bushel, and your Birthday Celebration Dies. Select the appropriate number for the birthday you are celebrating – for this layout, we used the ‘4’. Take your Stampin’ Cut and Emboss Machine to cut out the number from the Blueberry Bushel. For ease of addition, you can put a piece of adhesive sheet on the back of the Blueberry Bushel before cutting. Adhere the cut number to the center of one (1) 1 ¼” x 1 ¼” Pretty in Pink. Set aside.
6. Take one (1) 1 ¾” x 14/16” Basic White and one (1) 2” x 1 ¼” Pretty in Pink. Adhere the Basic White to the center of the Pretty in Pink with your Stampin’ Seal. Take one (1) 1 ¾” x 14/16” Basic White and one (1) 2” x 15/16” Pretty in Pink. Adhere the Basic White to the center of the Pretty in Pink with your Stampin’ Seal. Select a stamp from the Darling Dinos Stamp Set and use the Blueberry Bushel Classic Stampin’ Pad to stamp it. For this layout, we divided the ‘ROAR means in dinosaur’ between the two stacks to separate on the page. Set aside.
7. Take your base and two (2) ½” x 12” Wildflower Birthday DSP, Banner. Adhere with your Stampin’ Seal to the top and bottom of the base, flush against the edge.
8. Take two (2) ½” x 10” Wildflower Birthday DSP, Banner. Adhere with your Stampin’ Seal to the left and right of the base, flush against the edge.
9. Take one (1) 7” x 7” Wildflower Birthday DSP, Banner. Adhere with your Stampin’ Seal in the top right-hand corner of your base, leaving a small gap as shown in the image.
10. Take four (4) 3 ¼” x 3 ¼” Pretty in Pink/Pool Party/Basic White stacks. Adhere on the 7” x 7” Wildflower Birthday DSP, Banner, with your Stampin’ Seal as shown in the image.
11. Take one (1) 4” x 6” Wildflower Celebrations Two-Tone Cardstock, Blueberry Bushel, and Basic White stack. Adhere in the lower right corner with your Stampin’ Seal.
12. Select die cuts from the Wildflower Birthday DSP to add to the page. For this layout, we added a gold leaf and flowers with Multipurpose Liquid Glue, and flowers with Mini Stampin’ Dimensionals. In the top left we added balloons with Mini Stampin’ Dimensionals, and a cake in the lower right corner with Mini Stampin’ Dimensionals.
13. Take your stamped Pretty in Pink and Basic White and adhere around the balloons with the Mini Stampin’ Dimensionals as shown in the image.
14. Take the two dinosaurs you colored and adhere in the lower right corner around the cake with the Mini Stampin’ Dimensionals.
Tip: This page set can be used for multiple occasions; just select the word you wish [or use a sentiment!]
NOTES:
1. At the time of creation of this page set, all supplies were available on the Stampin’ Up website. However, items can be sold out or discontinued at any time. Feel free to use other supplies to make similar pages based on what you have available.
2. If you would like to order any of the supplies, you will need to create an account online with your personal information – Demonstrators cannot keep personal information on customers. We have provided links to the supplies for ease of use [linked by item number] and can provide hard copy catalogs if desired as well. If you need additional assistance, please reach out to info@mycraftingworkshop.com – we are more than happy to assist!
Supplies:
-
Adhesive Sheets
-
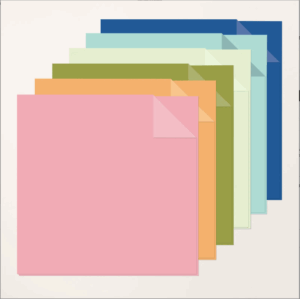
BASIC WHITE 8.5 X 11 CARDSTOCK
-
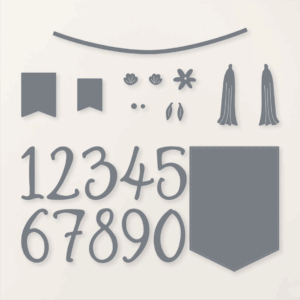
BIRTHDAY CELEBRATION DIES
-
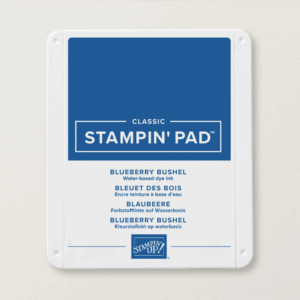
BLUEBERRY BUSHEL CLASSIC STAMPIN PAD
-

BRIGHTS STAMPIN WRITE MARKERS
-
DARLING DINOS DIES
-
DARLING DINOS PHOTOPOLYMER STAMP SET
-
MINI STAMPIN’ DIMENSIONALS
-
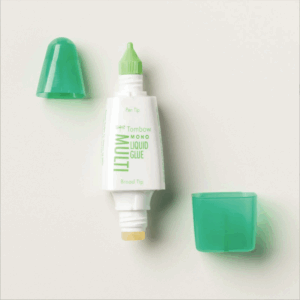
Multipurpose Liquid Glue
-

Pool Party 8.5 x 11 Cardstock
-
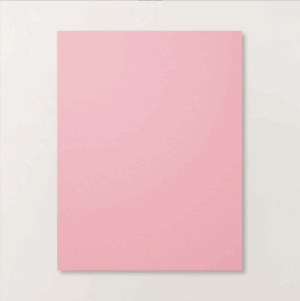
PRETTY IN PINK 8.5 X 11 CARDSTOCK
-
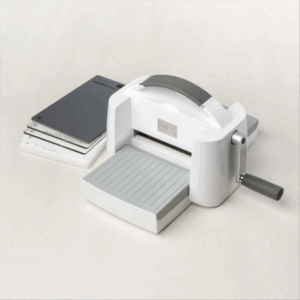
Stampin’ Cut and Emboss Machine
-
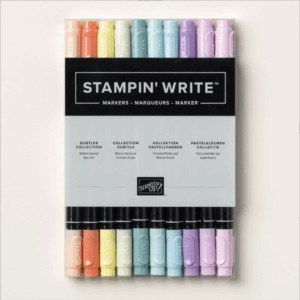
SUBTLES STAMPIN WRITE MARKERS
-
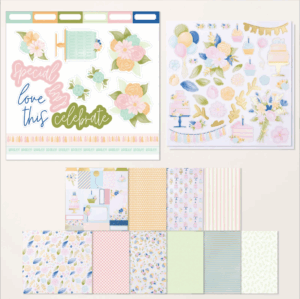
WILDFLOWER BIRTHDAY SPECIALTY DESIGNER SERIES PAPER & STICKER SHEET
-
WILDFLOWER CELEBRATIONS 12 X 12 TWO-TONE CARDSTOCK