
Measurements:
|
Product |
Size |
Quantity |
Details |
|
166669 |
6” x 6” |
2 |
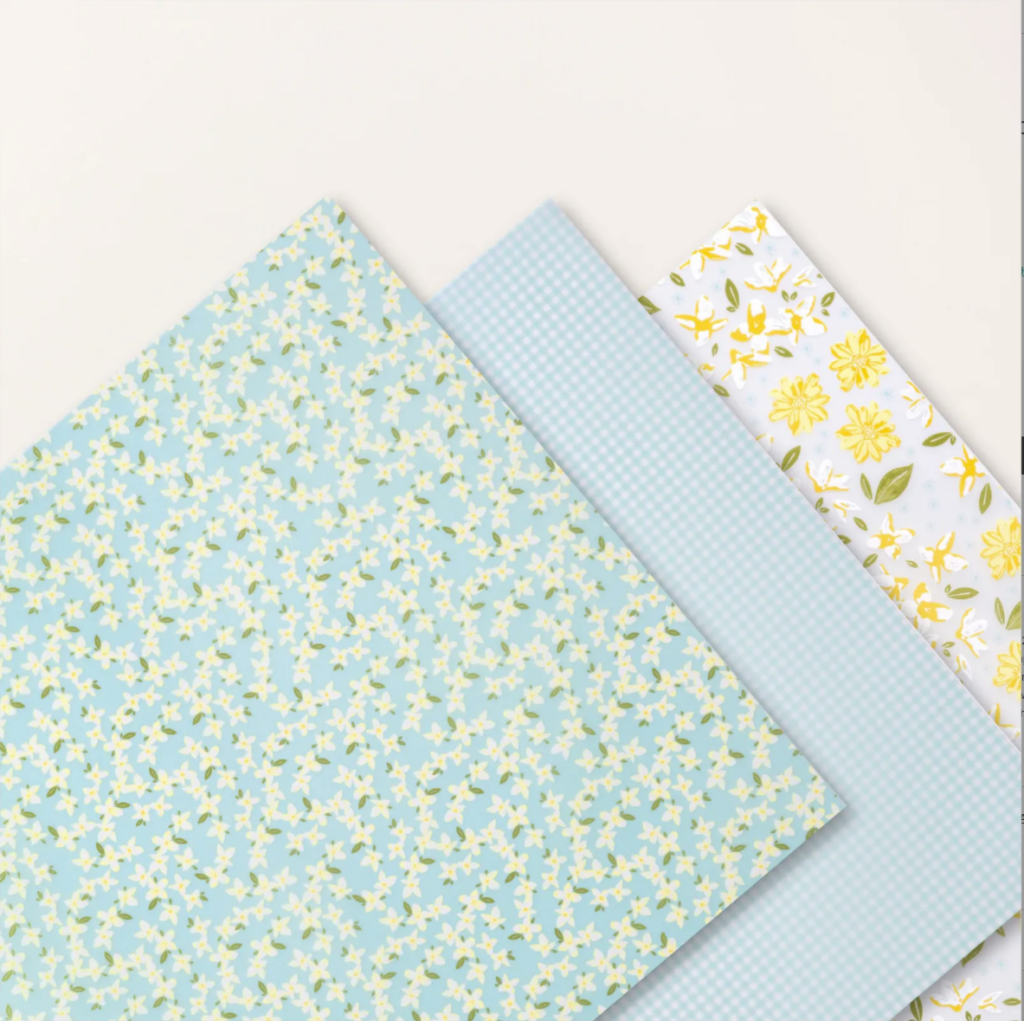
Daffodil Delight
Two-Tone, Dark side: Layout 1 |
|
164700 |
1 ¼” x 6” |
2 |
Floral Delight,
Stripes: Layout 1 |
|
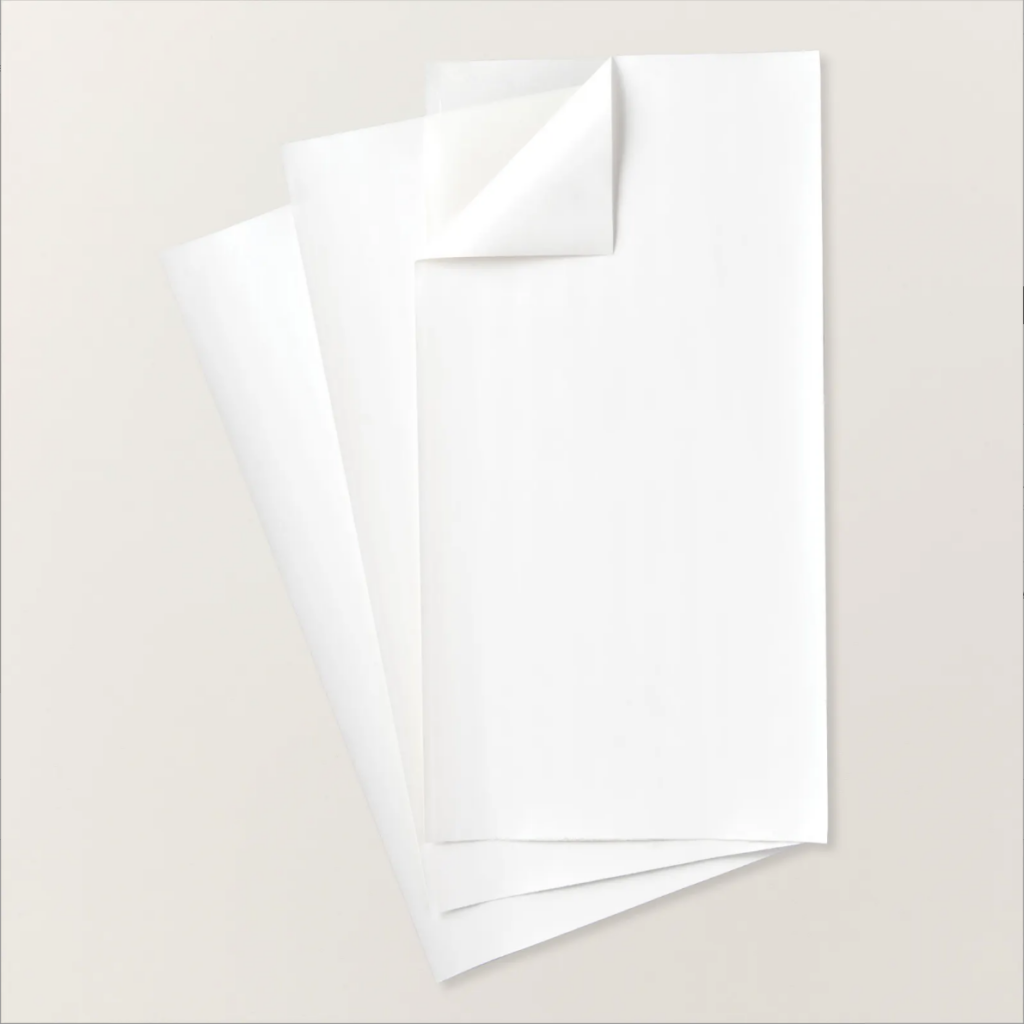
PPSUB |
N/A |
2 |
Honeycomb Inserts:
Layout 1 |
|
166703 |
6” x 6” |
6 |
White Willow: Layout 2 |
|
PPSUB |
N/A |
2 |
Honeycomb Cards: Layout
2 |
|
159276 |
2 ½” x 2 ½” |
4 |
Basic White: Layout 2 |
|
166669 |
6” x 6” |
2 |
Daffodil Delight
Two-Tone, Light side: Layout 3 |
|
164713 |
5 ½” x 5 ½” |
2 |
Floral & Gingham
Vellum, Blue with Flowers: Layout 3 |
|
PPSUB |
N/A |
2 |
Blue Cards: Layout 3 |
|
159276 |
3” x 4” |
2 |
Basic White: Layout 3 |
|
166703 |
6” x 6” |
6 |
White Willow: Layout 4 |
|
166669 |
2 ½” x 6” |
2 |
Daffodil Delight
Two-Tone, Light Side: Layout 4 |
|
PPSUB |
N/A |
2 |
Honeycomb Card with
Daisies: Layout 4 |
|
PPSUB |
3 ½” x 3 ½” |
2 |
Variegated Card: Layout
4 |
|
166703 |
6” x 6” |
6 |
White Willow: Layout 5 |
|
PPSUB |
N/A |
2 |
Blue Cards: Layout 5 |
|
159276 |
4” x 4” |
2 |
Basic White: Layout 5 |
|
PPSUB |
3 ¾” x 3 ¾” |
1 |
Blue Cards: Layout 5 |
|
159276 |
3 ½” x 3 ½” |
1 |
Basic White: Layout 5 |
Instructions:
1. Follow the measurements guide and cut all cardstock and DSP as noted.

Layout 1:
1. Take two (2) 6” x 6” Daffodil Delight Two-Tone, Dark side. These will be your base.
2. Take two (2) 1 ¼” x 6” Floral Delight, Stripes. Adhere one (1) to the left side of one base with your Stampin’ Seal as shown in the image. Adhere one (1) to the right side of the other base with your Stampin’ Seal as shown in the image.
3. Take two (2) Honeycomb Inserts from your Paper Pumpkin kit. Punch out the circle on each and adhere a photo behind each.
4. Adhere one (1) Honeycomb Insert with photo to the right side of your left base with your Stampin’ Seal as shown in the image. Adhere one (1) Honeycomb Insert with photo to the left side of your right base with your Stampin’ Seal as shown in the image.
5. Punch out two (2) Daisies and two (2) bees from the Paper Pumpkin kit. Use the provided Mini Stampin’ Dimensionals to adhere one of each to each base.

Layout 2:
1. Take two (2) 6” x 6” White Willow. These will be your base.
2. Take two (2) Honeycomb Card sides. Adhere one horizontally close to the bottom of the left base with your Stampin’ Seal. Adhere one vertically close to the left side of the right base with your Stampin’ Seal.
3. Take four (4) 2 ½” x 2 ½” Basic White. Adhere two (2) on the left base with your Stampin’ Seal in the lower center. Adhere two (2) on the right base with your Stampin’ Seal, staggered as shown in the image.
4. Punch out two (2) Daisy Chains and four (4) honeycombs from the Paper Pumpkin kit. Use the provided adhesive circles or your Multipurpose Liquid Glue to attach to each base. Adhere one (1) Daisy chain to the top of the left page and one (1) Daisy chain to the right of the right page. Adhere two (2) honeycombs to each side, overlapping the photos slightly as shown in the image.

Layout 3:
1. Take two (2) 6” x 6” Daffodil Delight Two-Tone, Light side. These will be your base.
2. Take two (2) 5 ½” x 5 ½” Floral & Gingham Vellum, Blue with Flowers. Adhere with your Stampin’ Seal to the center of each base.
3. Take two (2) Blue cards from your Paper Pumpkin kit. Adhere one horizontally to the lower center of your left page with your Stampin’ Seal as shown in the image. Adhere one vertically to the center of your right page with your Stampin’ Seal as shown in the image.
4. Take two (2) 3” x 4” Basic White. Adhere one horizontally to the lower center of your left page with your Stampin’ Seal as shown in the image. Adhere one vertically to the lower center of your right page with your Stampin’ Seal as shown in the image.
5. Punch out two (2) Daisy Chains and four (4) Daisies [two small and two large]. Use the provided adhesive circles or your Multipurpose Liquid Glue to attach to each base. Adhere one (1) Daisy chain to the top of the left page and one (1) Daisy chain to the top of the right page. Adhere two large Daisies with your provided Mini Stampin’ Dimensionals to the left base, one on each side of the photo. Adhere two small Daisies with your provided Mini Stampin’ Dimensionals to the right base, one on each side of the photo.
6. Add a sentiment from the provided stamps, banners, and ink. For this layout, we added ‘Enjoy your Special Day’ with the provided Lost Lagoon mini stamp pad.

Layout 4:
1. Take two (2) 6” x 6” White Willow. These will be your base.
2. Take two (2) 2 ½” x 6” Daffodil Delight Two-Tone, Light Side. Adhere vertically to the left base with your Stampin’ Seal on the right edge, leaving a small gap as shown in the image. Adhere vertically to the right base with your Stampin’ Seal on the left edge, leaving a small gap as shown in the image.
3. Take two (2) Honeycomb Card with Daisies sides. Adhere with your Stampin’ Seal vertically to the left base, close to the left edge as shown in the image. Adhere with your Stampin’ Seal vertically to the right base, close to the right edge as shown in the image.
4. Take two (2) 3 ½” x 3 ½” Variegated Card sides. Adhere one to the lower right corner of the left base with your Stampin’ Seal. Adhere one to the upper left corner of the right base with your Stampin’ Seal.
5. Punch out two (2) Daisies. Use the provided Mini Stampin’ Dimensionals to adhere one to each base as shown in the image [for the left base – one in the upper right corner; for the right base – one in the lower left corner].

Layout 5:
1. Take two (2) 6” x 6” White Willow. These will be your base.
2. Punch out two (2) Green Circles from the Paper Pumpkin kit. Adhere one to the upper left corner of the left base with your Stampin’ Seal. Adhere one to the upper right corner of the right base with your Stampin’ Seal.
3. Take two (2) Blue Card sides from your Paper Pumpkin kit. Adhere with your Stampin’ Seal at an angle on each base as shown in the image. Cut off any overhangs as needed.
4. Take two (2) 4” x 4” Basic White. Adhere to the center of each base with your Stampin’ Seal.
5. For the right page only: Take one (1) 3 ¾” x 3 ¾” Blue Card side. Adhere with your Stampin’ Seal to the center of the 4” x 4” Basic White. Take one (1) 3 ½” x 3 ½” Basic White. Adhere with your Stampin’ Seal to the center of the Basic White/Blue Card.
6. Punch out four (4) Daisies and two (2) Daisies with Stems. Use the provided adhesive circles or your Multipurpose Liquid Glue to attach to each base. Adhere a Daisy to the upper right corner of your left base, close to the picture. Adhere a Daisy with Stem to the right side of your left base and a Daisy with Stem to the left side of your right base. Adhere a Daisy in the lower left corner of your left base as shown in the image. Adhere a Daisy with your provided Mini Stampin’ Dimensionals to the upper left and lower right of your right base as shown in the image.
Tip: This page set can be used for multiple occasions; just select the word you wish [or use a sentiment!]
NOTES:
1. At the time of creation of this page set, all supplies were available on the Stampin’ Up website. However, items can be sold out or discontinued at any time. Feel free to use other supplies to make similar pages based on what you have available.
2. If you would like to order any of the supplies, you will need to create an account online with your personal information – Demonstrators cannot keep personal information on customers. We have provided links to the supplies for ease of use [linked by item number] and can provide hard copy catalogs if desired as well. If you need additional assistance, please reach out to info@mycraftingworkshop.com – we are more than happy to assist!