Measurements:
|
Product |
Size |
Quantity |
Details |
|
164944 |
1” x 12” |
1 |
Bloom Impressions,
Green with White Flowers: Left page |
|
164944 |
1 ½” x 12” |
2 |
Bloom Impressions,
Green with White Flowers: Both pages |
|
164944 |
9 ¾” x 2 ½” |
2 |
Bloom Impressions,
Green with White Flowers: Right page |
|
164944 |
1 ½” x 1 ½” |
3 |
Bloom Impressions,
Green with White Flowers: Left page [die cuts] |
|
161715 |
12” x 12” |
2 |
Neutrals, Mossy Meadow:
Both pages |
|
163805 |
2” x 12” |
2 |
2024-2026 In Color, Shy
Shamrock: Both pages |
|
163805 |
9 ¾” x 3” |
2 |
2024-2026 In Color, Shy
Shamrock: Right page |
|
163805 |
2” x 2” |
8 |
2024-2026 In Color, Shy
Shamrock: Both pages |
|
163805 |
2” x 2” |
3 |
2024-2026 In Color, Shy
Shamrock: Left page [die cuts] |
|
163805 |
6” x 2” |
1 |
2024-2026 In Color, Shy
Shamrock: Left page [die cuts] |
|
163805 |
4” x 6” |
1 |
2024-2026 In Color, Shy
Shamrock: Left page |
Instructions:
1. Follow the measurements guide and cut all cardstock and DSP as noted.

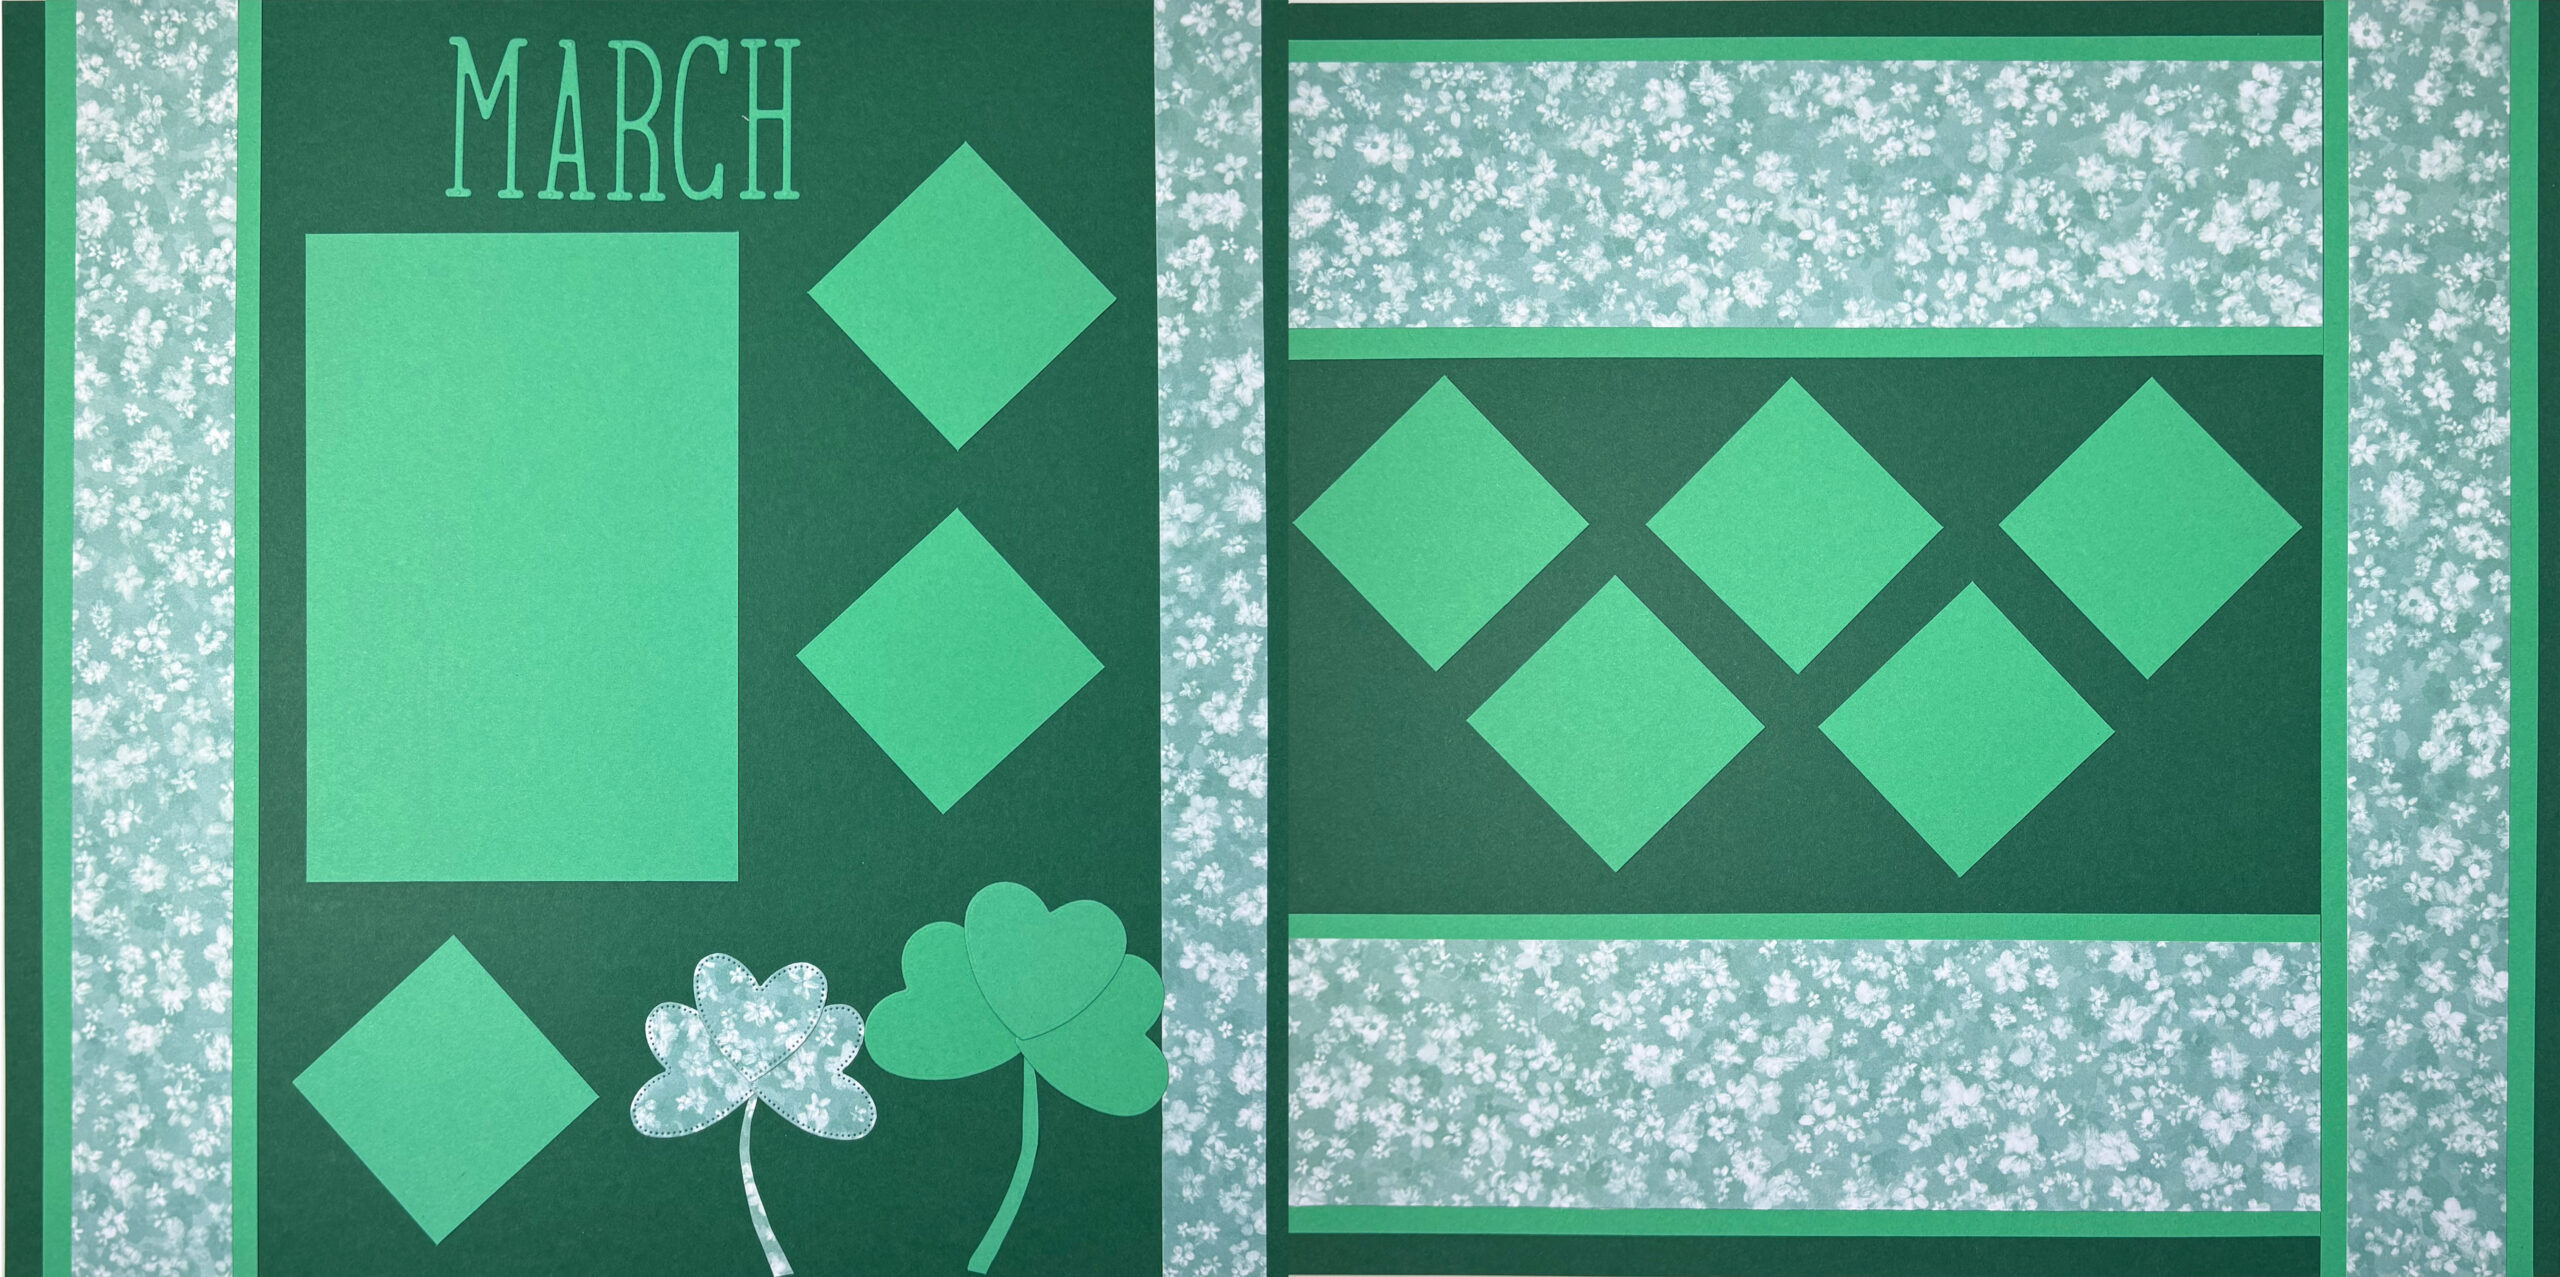
Left Side:
1. Take one (1) 12” x 12” Neutrals, Mossy Meadow. This will be your base.
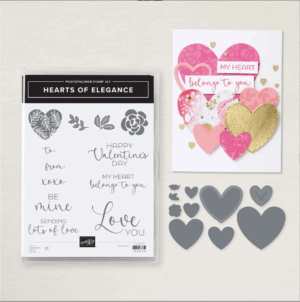
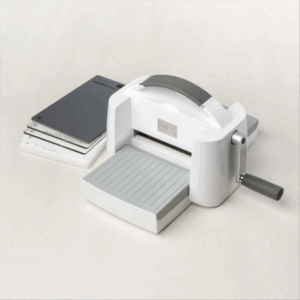
2. Take three (3) 2” x 2” 2024-2026 In Color, Shy Shamrock, and, using the medium heart from the Hearts of Elegance die set, cut out the heart with your Stampin’ Cut and Emboss Machine. Set aside.
3. Take three (3) 1 ½” x 1 ½” Bloom Impressions, Green with White Flowers, and, using the detailed heart from the Hearts of Elegance die set, cut out the heart with your Stampin’ Cut and Emboss Machine. Set aside.
4. Take one (1) 2” x 6” 2024-2026 In Color, Shy Shamrock, and, using the Alphabet A La Mode dies, cut out the letters for MARCH with your Stampin’ Cut and Emboss Machine. For ease of use, add an Adhesive Sheet to the back of the paper before cutting. Set aside.
5. Take one (1) 1 ½” x 12” Bloom Impressions, Green with White Flowers, and one (1) 2” x 12” 2024-2026 In Color, Shy Shamrock. Adhere the Green with White Flowers to the center of the Shy Shamrock with your Stampin’ Seal.
6. Take the stacked Green with White Flowers and Shy Shamrock and adhere with your Stampin’ Seal vertically to the left side of your Mossy Meadow base. Leave approximately a ½” gap from the edge of the page.
7. Take one (1) 1” x 12” Bloom Impressions, Green with White Flowers and adhere vertically to the right side of your Mossy Meadow base with your Stampin’ Seal, leaving approximately ½” gap from the right side, as shown in the picture.
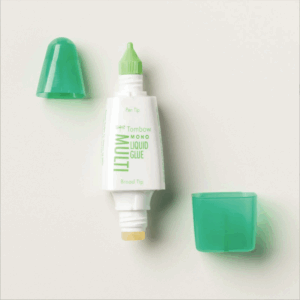
8. Adhere the letters for MARCH in the top center of the page by removing the adhesive backing. If you did not have or use adhesive backing, adhere with your Multipurpose Glue.
9. Take one (1) 4” x 6” 2024-2026 In Color, Shy Shamrock, and adhere below and to the left of MARCH as shown in the picture with your Stampin’ Seal.
10. Take three (3) 2” x 2” 2024-2026 In Color, Shy Shamrock squares and adhere on a diamond angle next to and below the 4” x 6” Shy Shamrock with your Stampin’ Seal.
11. Take three (3) Shy Shamrock hearts and arrange in a clover shape in the lower right hand corner of the page. Adhere with your Stampin’ Seal or your Multipurpose Glue. Use a scrap from the cutting to create the stem and adhere with your Multipurpose Glue as shown.
12. Take three (3) Green with White Flowers hearts and arrange in a clover shape next to the Shy Shamrock clover. Adhere with your Stampin’ Seal or your Multipurpose Glue. Use a scrap from the cutting to create the stem and adhere with your Multipurpose Glue as shown.

Right Side:
1. Take one (1) 12” x 12” Neutrals, Mossy Meadow. This will be your base.
2. Take one (1) 1 ½” x 12” Bloom Impressions, Green with White Flowers, and one (1) 2” x 12” 2024-2026 In Color, Shy Shamrock. Adhere the Green with White Flowers to the center of the Shy Shamrock with your Stampin’ Seal. Set aside.
3. Take two (2) 9 ¾” x 3” 2024-2026 In Color, Shy Shamrock, and two (2) 9 ¾” x 2 ½” Bloom Impressions, Green with White Flowers. Adhere the Green with White Flowers to the center of the Shy Shamrock with your Stampin’ Seal.
4. Take one (1) 9 ¾” x 3” stacked Shy Shamrock and Green with White Flowers and adhere with your Stampin’ Seal horizontally near the top of the page, leaving approximately a ½” gap from the top as shown in the image.
5. Take one (1) 9 ¾” x 3” stacked Shy Shamrock and Green with White Flowers and adhere with your Stampin’ Seal horizontally near the bottom of the page, leaving approximately a ½” gap from the bottom as shown in the image.
6. Take one (1) 2” x 12” stacked Green with White Flowers and Shy Shamrock and adhere with your Stampin’ Seal vertically to the right side of your Mossy Meadow base. Ensure the left side is aligned with the 9 ¾” stacks that were previously adhered.
7. Take five (5) 2” x 2” 2024-2026 In Color, Shy Shamrock squares. Adhere at a diamond angle in the center of the page with your Stampin’ Seal as shown in the image.
Tip: This page set can be used for multiple occasions; just select the word you wish [or use a sentiment!]
NOTES:
1. At the time of creation of this page set, all supplies were available on the Stampin’ Up website. However, items can be sold out or discontinued at any time. Feel free to use other supplies to make similar pages based on what you have available.
2. If you would like to order any of the supplies, you will need to create an account online with your personal information – Demonstrators cannot keep personal information on customers. We have provided links to the supplies for ease of use [linked by item number] and can provide hard copy catalogs if desired as well. If you need additional assistance, please reach out to info@mycraftingworkshop.com – we are more than happy to assist!
Supplies: